In part 1 of my video I show how to build the frame that everything will attach to and how I “skinned” it using a cut down 2×4. Tools used in the project include drill press, table saw and a band saw.
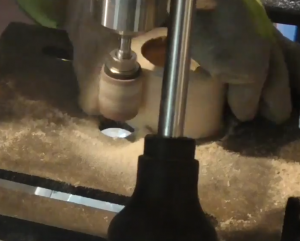
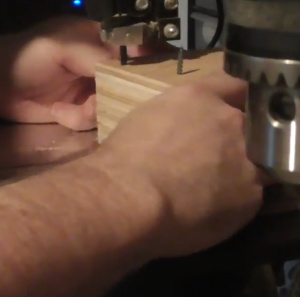
The corner pieces I start with a small piece of 2×4 and used a 1 1/2″ (38mm) hole saw bit and then followed up with 2 1/2″ (64mm) how saw bit as shown in the video (1:32). I repeated this for a total of three pieces which you then see me glue together. The three cylinder cut pieces are then sanded using a drum sander bit meant for a pneumatic tool, but I just used my drill press, because Inappropriate_tools, that’s why! I like to use gorilla glue, I’ve found when properly used this glue keeps pieces stuck together. You do need to clamp pieces together as gorilla glue expands as it dries and this is what makes it so good. It’ll expand in every crevice it can fit itself into, making it quite useless when gluing smooth surface objects.
Next I use my table saw to rip some 2×4’s (2:35) in about 4′ length, 3 pieces which I’ll glue together as shown and you a table top router to make them even and flat. Alternatively you can find hobby size pieces of pine about the size you need at Home Depot or other DIY type stores (some to lots of sanding might be required)
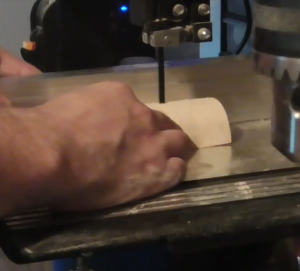
Once the glue was set on my corner pieces I used my band saw to cut the one piece into quarters. First by cutting it in half and the cutting the two half pieces in a half again. After doing this twice I feel as you the table saw with 120-140 tooth blade might be a better way to go. When I build the third one (bluetooth/fm radio) unit I think i’ll use the table saw instead for this part.
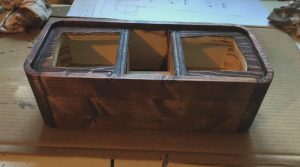
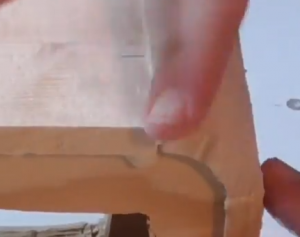
Next I begin work on the “skeleton” of the build (3:35), essentially a plywood structure that will provide plenty of support and structure. One of my friends commented how he felt he could crush my creation, I took the back off and he quickly changed his mind. I also cut the material that I will use for the front and back of the build, but these pieces won’t be covered until parts 2 and 3 of the project. Below should be a PDF containing a 1:1 scale of the drawing shown in the video (3:56). More drawings will be posted in Parts 2 & 3. These initial 4 pieces cut from plywood will form the outer pieces and as such will have rounded corners. I’ll use my cut corner pieces (4:15) to transfer the profile of the corner to the plywood before using my band saw to to cut them out.
Cutting these pieces was pretty difficult, the video is running at 20x and a skip a part where I had to stop and walk away for a minute.
Once the outer sections are cut and I need to cut pieces (4:55) for the “center” H section that will join everything together. These piece will be glued (normal wood glue) and screwed and I’m using normal wood glue because its being secured with screws and I’ll secure the outer “skin” pieces to it using gorilla glue. This will be super wicked solid when its done.

With the skeleton assembled I turn my attention back to the 2×4 that I cut down earlier. With the three pieces glued together I need to plain them down to the correct thickness and make them flat. Again you should be able to find hobby/diy pieces close enough.
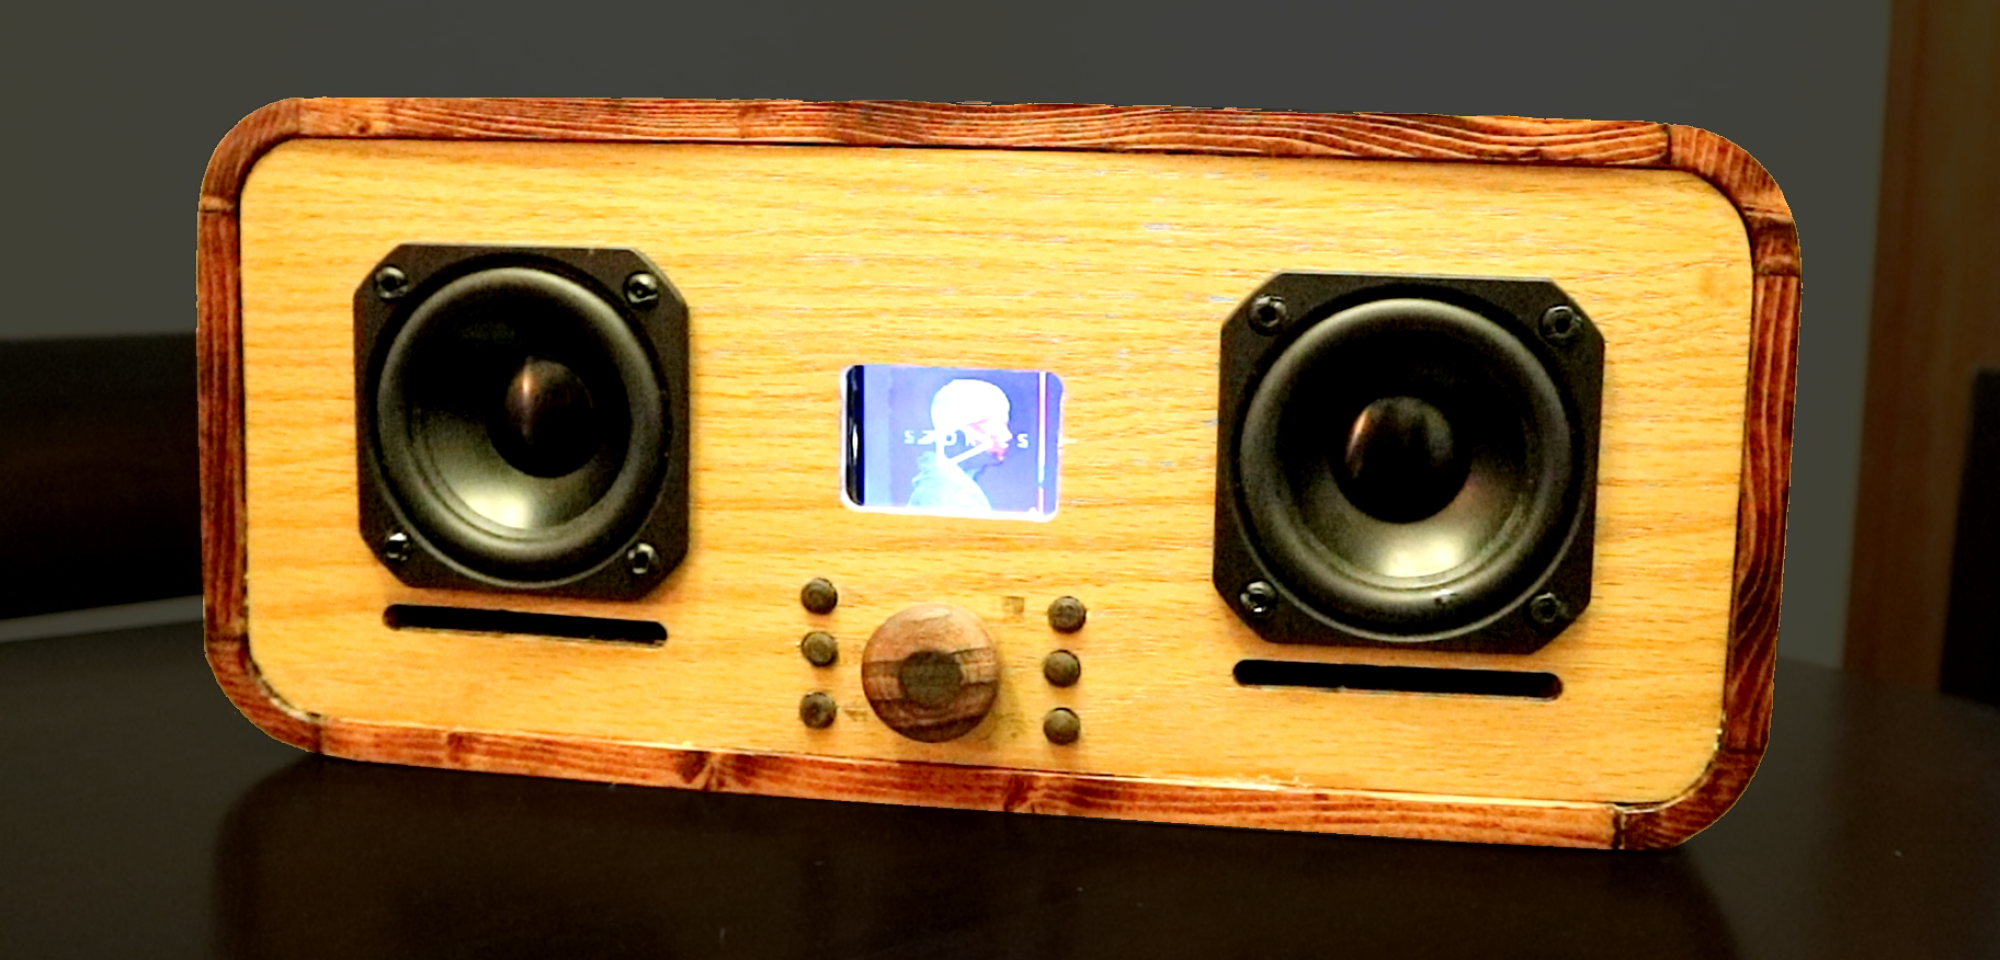
Now that the the ripped 2×4 are planed down I have everything needed to “skin” the sides, top and bottom to the “skeleton” of the BoomBox. I use hot glue (6:40) as a sorted of temporary way of securing pieces to figure out how things can fit together. Basically we are at the super tedious part of the build where everything goes together and being that we are working with wood that means lots of cutting, sanding and adjusting. The thing about wood is it can warp after its been cut, even wood that’s been sitting for a year plus (granted much less likely) and I’m using 2×4 that I just bought, so it super finicky.
To fill the gaps I squeeze in some wood glue and start sanding. As I sand I push the left over saw dust into the wood glue and eventually fill the gap. You need to sand the material regardless or you’ll end up with a rough surface and the stain won’t look very nice at all, so its win win.
In the video I don’t really show the beginning of the stain process, I accidentally filled up the sd card and hadn’t realized it. Staining is pretty simple, just read the instructions on the container and you’ll end up with good results. Darker stains are easier to apply as my experience has been they can only get so dark.